
Start with a regular hand towel. (Wash and dry first if its new.)

Decide where you want the hole to be. I like to leave the front of the bib longer for more coverage. Cut a 4 1/2 inch circle.


You need a super stretchy knit fabric for the collar. I used a knit that's like a baby onesie.

Cut out a rectangle of the knit fabric, 11 inches long by 2 1/2 inches tall. Make sure the fabric stretches on the long side.

Fold right sides together and sew the edge.

Iron the seam open.

Fold wrong sides together and iron flat.

Now you have this.

Fold in half and mark the mid point (on the raw edge) going both ways so you have 4 equal sections from the seam.
.

Eyeball the same 4 points on the towel and mark them. (This is the right/front side of the bib, where a print or pattern would be).

Line up the seam on the top dot on the towel. Raw edges together. (Front/Right side of the bib)

Line up and pin the other dots. (Still the front of the bib showing. All raw edges in the middle.)

Don't stick the pin in your finger.

Eyeball the mid point between each of the pins and add another pin. You will be stretching the stretchy collar part to make it the same length as the towel.
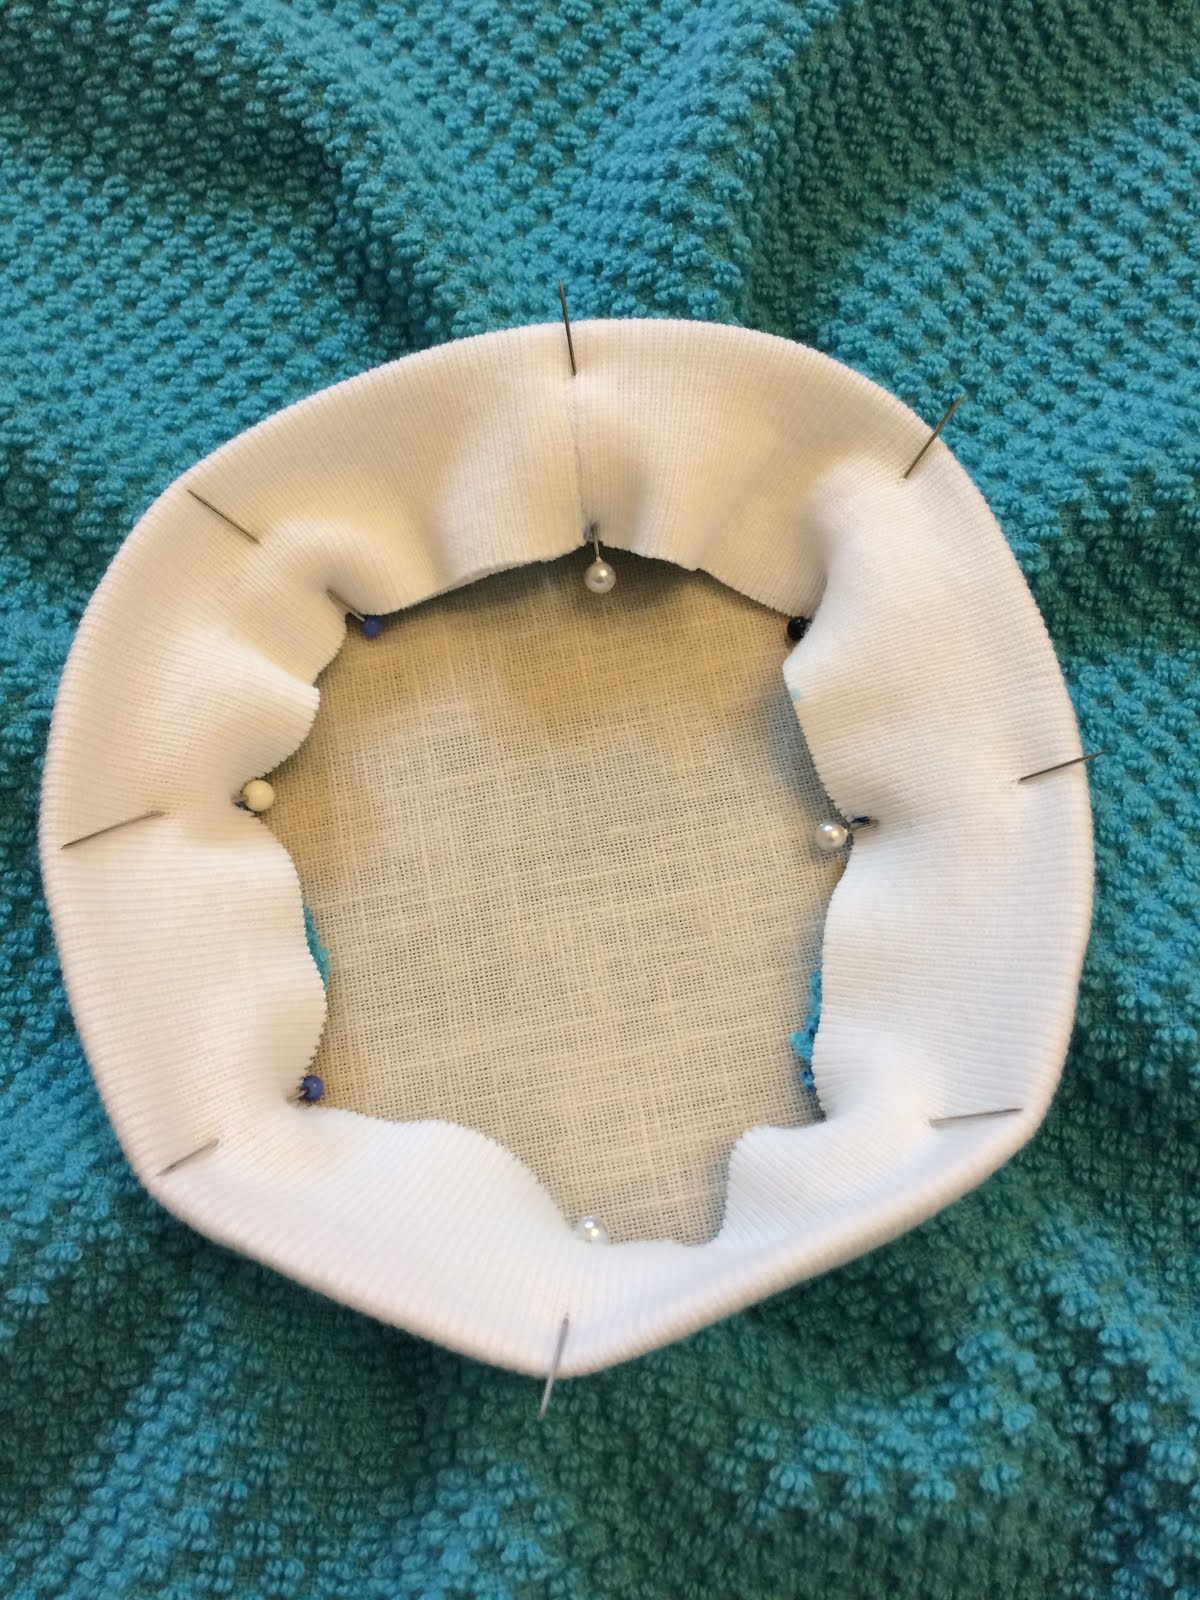
It will look like this.
.

Sew the raw edge... (keep reading)

I slid off the removable part of my machine so that the collar would fit around it...

And moved my needle to the far right for a smaller seam allowance...

You will need to pull the stretchy collar tight as you sew to make it the same length as the towel it is being sewn to. I basically stop at each pin and stretch the next section while I sew.


Front

Ugly raw edges on the back. If only I had a serger!


Zig-zag stitch the raw edges together to prevent fraying.


Finished back.

Finished!! See how tiny the hole looks. This size will work great for a baby...


But it stretches over an almost 6 year old's head too. :)